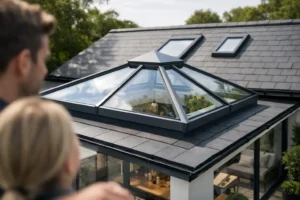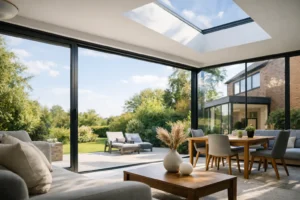
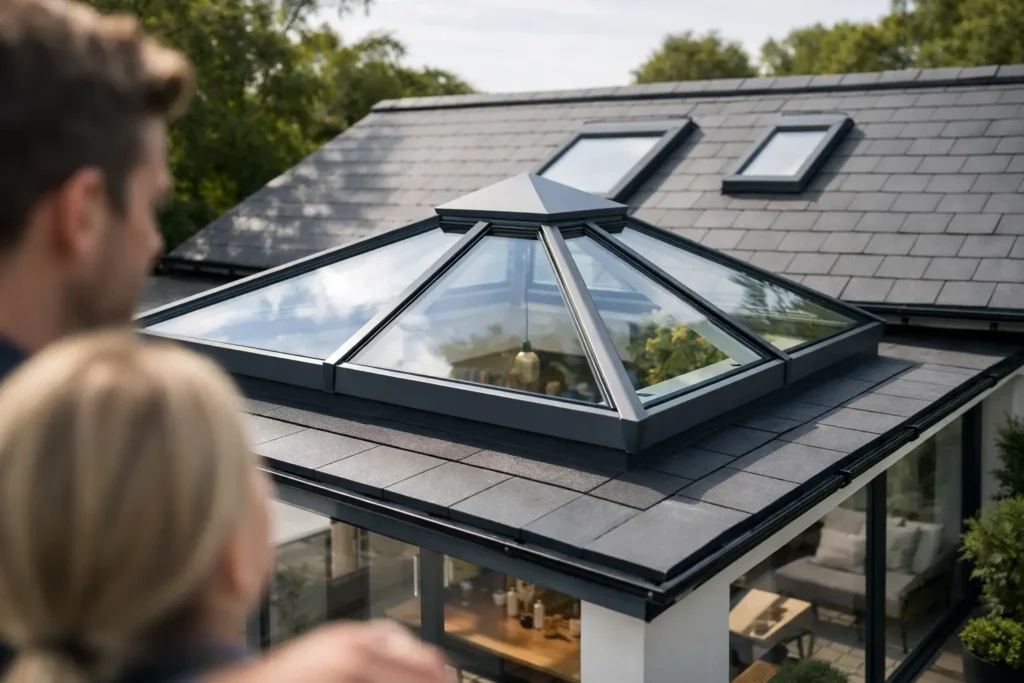
A roof lantern can turn a dark rear extension into the brightest room in the house, but only when its proportions, glazing and installation suit the space. Knowing how to choose roof lanterns means looking beyond the frame colour and choosing a design that brings in generous daylight without making the room uncomfortably warm, cold or difficult to furnish.
For UK homeowners planning a kitchen extension, orangery or flat-roof renovation, a well-specified aluminium lantern creates a striking architectural feature from inside and out. The best choice balances appearance with practical performance, including thermal efficiency, solar control, security and the strength of the supporting roof.
Start with the room, not the lantern
It is tempting to begin with the largest lantern that will fit, especially after seeing bright, open-plan extensions online. Size matters, but the room’s orientation, ceiling height and intended use should lead the decision.
A north-facing room often benefits from a larger glazed area because the light is cooler and more consistent. South-facing extensions receive stronger direct sun, so a generous lantern may still work beautifully, but solar-control glass and shading deserve more attention. West-facing kitchens can also experience intense afternoon glare and heat, particularly in summer.
Think about where the light needs to fall. A lantern positioned above a kitchen island makes the worktop feel lighter and more inviting, while one centred over a dining area can give the room a sense of height and occasion. In a long extension, two smaller lanterns may spread daylight more evenly than one oversized unit.
The view from indoors is equally important. Slim aluminium rafters reduce visual interruption and create a cleaner sky view than bulkier alternatives. This is especially valuable where the lantern will sit above the main seating or dining space.
How to choose roof lanterns in the right size
There is no single ideal size, as every roof layout and extension is different. A lantern should look in proportion to the roof, leaving enough solid flat roof around it to manage drainage, insulation and waterproofing properly. Its position must also work with the internal ceiling structure and any steelwork required by the build.
As a design guide, avoid making the lantern so small that it looks lost on a wide roof, or so large that it dominates the elevation and leaves little practical roof area. Your installer or builder should confirm the available structural opening before the lantern is ordered. Bespoke manufacturing is useful here, allowing the frame dimensions to follow the building rather than forcing the project around standard sizes.
Also consider access for delivery and installation. Larger glazed sections are heavier and may require lifting equipment, particularly where there is limited side access. Establishing this early prevents expensive surprises once the extension is nearly complete.
Choose the right number of sides
Most residential roof lanterns are rectangular, with two longer sides and two shorter ends. A traditional-looking lantern may use more rafter sections, while a contemporary design generally uses fewer, slimmer sightlines.
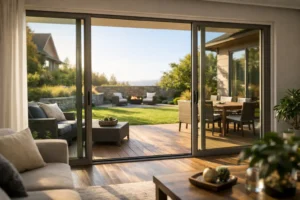
For a modern extension with aluminium bifold or sliding doors, a minimal-frame lantern usually gives the most cohesive result. The dark lines of the roof lantern can complement the slim profiles of systems such as Smarts Visofold 1000 Bifold Doors or a Smarts Visoglide Plus sliding door, helping the glazing throughout the extension feel considered rather than pieced together.
More decorative layouts can suit period properties and garden rooms, but every additional bar slightly changes the view upwards. Ask to see the lantern’s internal sightlines, not only exterior photographs.
Prioritise glass performance, not just clear views
The glass specification has a major effect on everyday comfort. Double glazing is common for roof lanterns, although the right make-up depends on the project, the lantern size and the room’s orientation. Energy-efficient glazing combined with a thermally broken aluminium frame helps reduce heat loss during colder months.
For bright south- or west-facing rooms, solar-control glass is often a sensible investment. It reduces the amount of solar energy passing through the glass, helping to limit overheating and glare while retaining a high level of natural light. The trade-off is that some solar-control coatings can give the glass a subtle tint, so it is worth viewing a sample in daylight before making a final choice.
Low-emissivity coatings improve thermal performance by reflecting warmth back into the room. Laminated inner panes can add safety and security, while self-cleaning coatings may reduce the frequency of cleaning. They do not eliminate maintenance, particularly where leaves, bird droppings or pollution build up, but they can make a large lantern easier to live with.
When comparing quotations, check the quoted U-value and ask whether it relates to the glazing alone or the complete lantern. Whole-product performance gives a more useful picture because it takes account of the glass, frame and thermal breaks together.
Select an aluminium frame built for the British climate
Aluminium is a popular choice for roof lanterns because it is strong, stable and well suited to slim profiles. Its strength allows for narrow rafters and larger glass spans, giving the lantern a refined appearance without compromising structural performance.
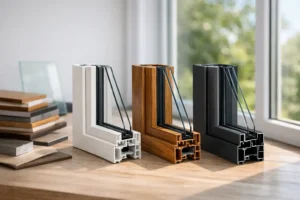
The critical detail is the thermal break. Aluminium naturally conducts heat, so a quality thermally broken system includes an insulating barrier within the profile to reduce heat transfer. Combined with suitable glazing, this helps the lantern remain comfortable through changing British weather.
Powder-coated aluminium also offers long-lasting colour and low maintenance. Anthracite grey, black and white remain popular choices, but bespoke RAL colours can tie the lantern to window frames, bifold doors or the existing property. Consider the internal and external finish separately if you want a darker exterior with a softer interior colour.
A good roof lantern should have concealed or carefully designed drainage, durable seals and secure glazing retention. These details are less visible in a showroom, but they have a direct bearing on weather resistance and longevity.
Plan for ventilation and summer comfort
A roof lantern brings daylight from above, but warm air naturally rises with it. In a compact extension with a large expanse of glazing, ventilation needs to be part of the design rather than an afterthought.
Opening roof vents can release warm air at high level, particularly when paired with opening windows or doors lower down in the room. This creates useful cross-ventilation on warm days. Manual operation may be suitable for an accessible lantern, while electric opening vents are more practical for higher ceilings and can be specified with rain sensors.
Ventilation will not solve every overheating issue. For strongly sun-exposed rooms, combine it with the correct solar-control glass and consider internal blinds. Blinds provide flexible glare control and privacy at night, although they are most effective when chosen as part of the overall lantern specification rather than fitted as a compromise later.
Do not overlook security, safety and Building Regulations
Roof lanterns are fixed high-level features, but they still need appropriate safety and security measures. Toughened or laminated safety glass is commonly specified for overhead glazing. Laminated glass holds together if broken, which can provide additional reassurance in family homes and properties where security is a priority.
Your project must also meet relevant Building Regulations. This can involve requirements for thermal performance, ventilation, structural loading and safety glazing. If the lantern forms part of a new extension, its design should be considered alongside the roof build-up, insulation and drainage from the outset.
Planning permission is not always required for a roof lantern, particularly where it sits within permitted development limits, but it depends on the property and the scope of work. Conservation areas, listed buildings and projects that alter roof height may need additional checks. A competent supplier and installer can help you identify the right questions before work begins, but formal planning advice should come from your local authority or planning professional where needed.
Decide between supply-only and installation
A supply-only roof lantern can suit experienced builders, architects and homeowners managing their own extension team. It offers flexibility, provided the installer understands the manufacturer’s fitting requirements and the opening has been prepared accurately.
For many homeowners, a full survey and installation service offers greater reassurance. Precise measuring, correct flashing details, secure glazing and final weatherproofing all affect the finished result. A lantern is only as good as the roof interface around it, so this is not an area to leave to guesswork.
Before accepting a quotation, confirm what is included: survey, delivery, installation, glass specification, electrical work for powered vents, making good and waste removal. Comparing like for like is the only reliable way to assess value.
A roof lantern should make your extension feel brighter every day, not create a seasonal comfort problem. Bring your room dimensions, orientation and design ideas to an experienced glazing specialist, then choose a bespoke specification that looks right, performs well and gives your home lasting value.